

Building Your Starter Toolkit
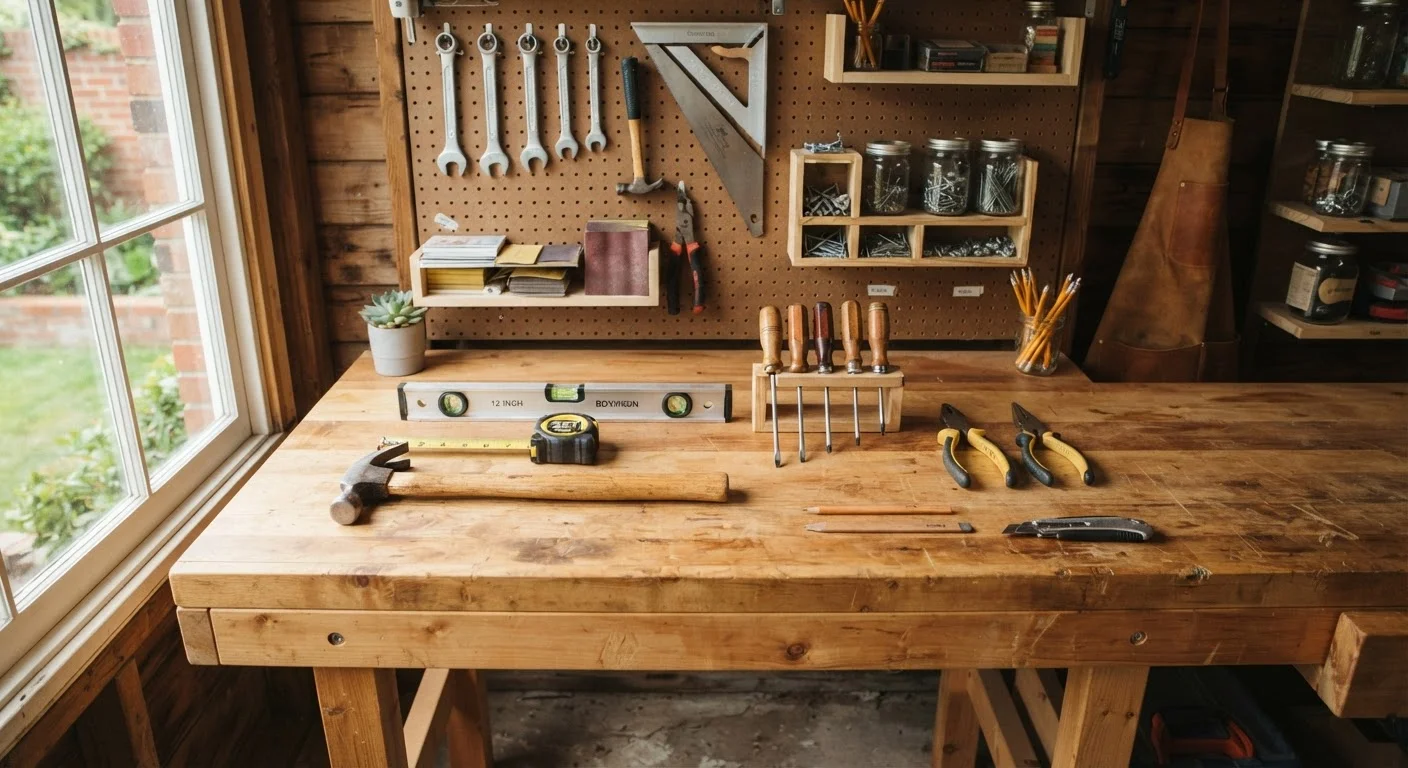
You don't need a garage packed with power tools to handle most household repairs. A focused set of quality hand tools will carry you through the overwhelming majority of first-time projects. Prioritize these essentials:
- Claw hammer — for driving and pulling nails
- Phillips and flathead screwdrivers (multiple sizes) — the most-used tools in any home
- Tape measure (25 ft) — accurate measurement prevents wasted materials
- 4-foot level — ensures shelves, frames, and fixtures hang straight
- Adjustable wrench and slip-joint pliers — covers a wide range of fastener and fitting sizes
- Utility knife — for scoring, trimming, and cutting materials cleanly
- Stud finder — essential before drilling or driving fasteners into walls
- Cordless drill/driver — a single mid-range model handles drilling and driving tasks efficiently
Buy the best quality you can reasonably afford for frequently used tools like screwdrivers and a tape measure — they'll outlast cheaper alternatives by years. Store everything in a dedicated toolbox so nothing walks away between projects.
Before buying any tool, rent it once from a hardware store to confirm you'll actually use it. Renting is cheap; an unused tool collecting dust is not.
Many first-time homeowners overbuy tools that get used once. Renting first removes the guesswork and keeps startup costs low.
Take a photo of every wall cavity, pipe run, or wiring layout before you close it back up. Store the images in a labeled phone album for future reference.
Knowing exactly what's behind your walls saves hours of investigation on the next repair and helps any professional you hire work faster.
Apply joint compound for drywall patches in at least three thin coats rather than one thick coat — thin coats dry faster, shrink less, and produce a smoother final surface.
Thick applications of joint compound dry unevenly and crack, often requiring the repair to be redone. Thin layers are the consistent method used by professional drywall finishers.
Safety First: Non-Negotiable Ground Rules
Every productive DIY habit begins with safety. Before picking up a single tool, internalize these non-negotiable rules:
- Shut off the right circuit or water supply. Before any electrical or plumbing work, confirm power is off at the breaker panel or water is off at the shutoff valve. Use a non-contact voltage tester to verify electrical circuits are de-energized before touching wiring.
- Wear appropriate PPE. Safety glasses protect against flying debris during drilling and cutting. Gloves guard against cuts and splinters. Dust masks matter whenever you're sanding or disturbing old materials.
- Know what's in your walls. Use a stud finder and, where necessary, a wiring/pipe detector before cutting or drilling into any wall surface.
- Work at height with care. Set ladders on firm, level ground and never overreach. For anything more complex than gutter clearing, review safe practices for working at height before you climb.
- Never disturb suspected asbestos or lead paint. Homes built before 1980 may contain these materials. If you suspect their presence, stop and consult a licensed abatement professional.
Older Homes: Check Before You Disturb
Homes built before 1980 may contain asbestos in insulation, floor tiles, or joint compound, and lead paint on surfaces. Disturbing these materials can create serious health hazards. If your home was built in this era, have suspect materials tested by a certified inspector before any renovation or repair work that disturbs them.
Reading a Repair Job Before You Start
Experienced DIYers spend as much time assessing a repair as actually doing it. Rushing to the hardware store before understanding the problem is one of the most common — and expensive — beginner mistakes. Use this diagnostic approach:
- Identify the symptom vs. the cause. A water stain on a ceiling could signal a roof issue, a plumbing leak, or condensation. Treating the surface stain without finding the source means the damage will return.
- Research the repair method first. Manufacturer instructions, building code references, and reputable trade guides all provide method-specific guidance. Cross-reference at least two sources before committing to an approach.
- List materials and quantities before shopping. Measure twice, buy once. Account for 10–15% material waste on tasks like tiling, flooring, and patching.
- Assess whether a permit is required. Many jurisdictions require permits for fencing, deck work, window replacement, and certain plumbing or electrical changes. Contact your local building department to confirm — unpermitted work can cause serious problems at resale.
Also consider whether the repair might reveal deeper issues. A soft spot in flooring, for example, could point to subfloor moisture damage. Build in time and budget to investigate before sealing everything up. You can also keep project costs in check from day one — see our guide to building your first budget for foundational money-management principles that apply just as well to home projects.
Permit Requirements Vary by Location
Building permit rules differ significantly between municipalities. A repair that requires a permit in one county may not in another. Always contact your local building and planning department directly — not just a contractor or online forum — to confirm requirements for your specific project before starting work.
Five Common First-Time Repairs — and How to Approach Them
These are the repairs most homeowners encounter within their first year, and all are within reach of a careful beginner.
1. Patching Drywall Holes
Small holes (nail-sized) need only lightweight spackling compound applied with a putty knife, sanded smooth when dry, and painted to match. Holes up to about 6 inches typically use a mesh patch kit — apply joint compound in thin layers, feathering each coat outward before sanding and painting.
2. Fixing a Running Toilet
Most running toilets are caused by a worn flapper or an out-of-adjustment fill valve float — both inexpensive, part-swapping repairs that require no special skills. Turn off the supply valve at the base of the toilet before opening the tank. For a deeper dive into bathroom plumbing fixes, our introduction to basic plumbing repairs covers this and more.
3. Replacing a Door Latch or Strike Plate
A sticky latch is often a seasonal wood-movement issue. If the latch bolt doesn't align with the strike plate, use a chisel to extend the mortise slightly or reposition the plate. A loose strike plate almost always just needs longer screws driven into the door frame's solid wood.
4. Caulking Windows and Doors
Failed caulk around windows and exterior doors lets in drafts and moisture. Remove old caulk with a utility knife or caulk remover tool, clean and dry the joint thoroughly, then apply a continuous bead of exterior-grade paintable caulk. Smooth with a dampened finger and allow to cure per the product's instructions before painting.
5. Repairing a Squeaky Floorboard
Squeaks in wood floors are usually caused by boards rubbing against each other or against nails. From above, drive trim-head screws at an angle through the board into the subfloor to pull the layers together firmly. Countersink the head and fill with wood filler for an invisible repair.
~35%
Homeowners who attempt DIY repairs annually
According to Harvard's Joint Center for Housing Studies, home improvement and repair spending by owners represents hundreds of billions annually, with a significant share done by homeowners themselves.
1–2%
Annual home value recommended for maintenance budget
A commonly cited rule of thumb in personal finance and homeownership guidance suggests setting aside 1–2% of a home's purchase price each year for upkeep.
Up to 30%
Potential savings doing basic repairs yourself
For straightforward repairs like drywall patching or caulking, labor often represents the majority of a professional's quote — work you can eliminate by doing it yourself safely.
Knowing When to Call a Professional
DIY has genuine limits, and recognizing them is a mark of experience — not defeat. Always hire a licensed professional for:
- Any electrical work beyond replacing outlets and switches — panel work, new circuit runs, or anything involving the main service entrance
- Gas lines and appliances — leaks and improper connections can be life-threatening
- Structural repairs — load-bearing walls, foundation concerns, and roof decking replacement
- Main sewer line issues — root intrusion and sewer collapse require specialized equipment and expertise
Additionally, don't let the myth that professional help is always wasteful steer you into unsafe territory. Our article on DIY home repair myths that can cost you more than a pro breaks down where overconfidence leads to bigger bills. When in doubt, a paid consultation with a licensed contractor often costs far less than fixing a well-intentioned mistake.
Never Work on Live Electrical Circuits
Electrical shock can cause serious injury or death. Always verify that the circuit is completely de-energized using a non-contact voltage tester before touching any wiring, even after flipping the breaker. If you are uncertain about any aspect of electrical work, stop and hire a licensed electrician. This is not an area where guesswork is acceptable.
Budgeting Your Repair Projects
Home repair costs have a predictable tendency to exceed initial estimates. Building a realistic budget at the outset — and padding it — prevents stress and half-finished work.
A commonly cited guideline suggests setting aside 1–2% of a home's value annually for maintenance and repairs, though actual needs vary considerably by home age, condition, and climate. Older homes typically require more. Track your spending per project in a simple spreadsheet — over time, this data helps you plan seasonal maintenance more accurately.
Prioritize repairs by urgency: water intrusion and structural issues should come before cosmetic fixes. A leaking roof that goes unaddressed will generate mold, drywall damage, and flooring replacement costs that dwarf the original roofing repair. Once your home is stable, budget for upgrades that add comfort and long-term value — explore decorating ideas for every stage of homeownership as a next step once your repairs are complete.
Keep a running list of deferred repairs — minor issues that aren't urgent but will need attention. Addressing three or four small items in one trip to the hardware store is far more efficient than making separate trips for each.
The content on this site is for informational purposes only and is not a substitute for professional advice. Always consult a qualified professional for guidance specific to your situation.