

Start here
Tools and Supplies Every Beginner Needs
First repair
Fixing a Dripping Faucet
Next repair
Stopping a Running Toilet
Then try
Clearing Slow or Clogged Drains
Know your limits
Knowing When to Call a Licensed Plumber
Tools and Supplies Every Beginner Needs
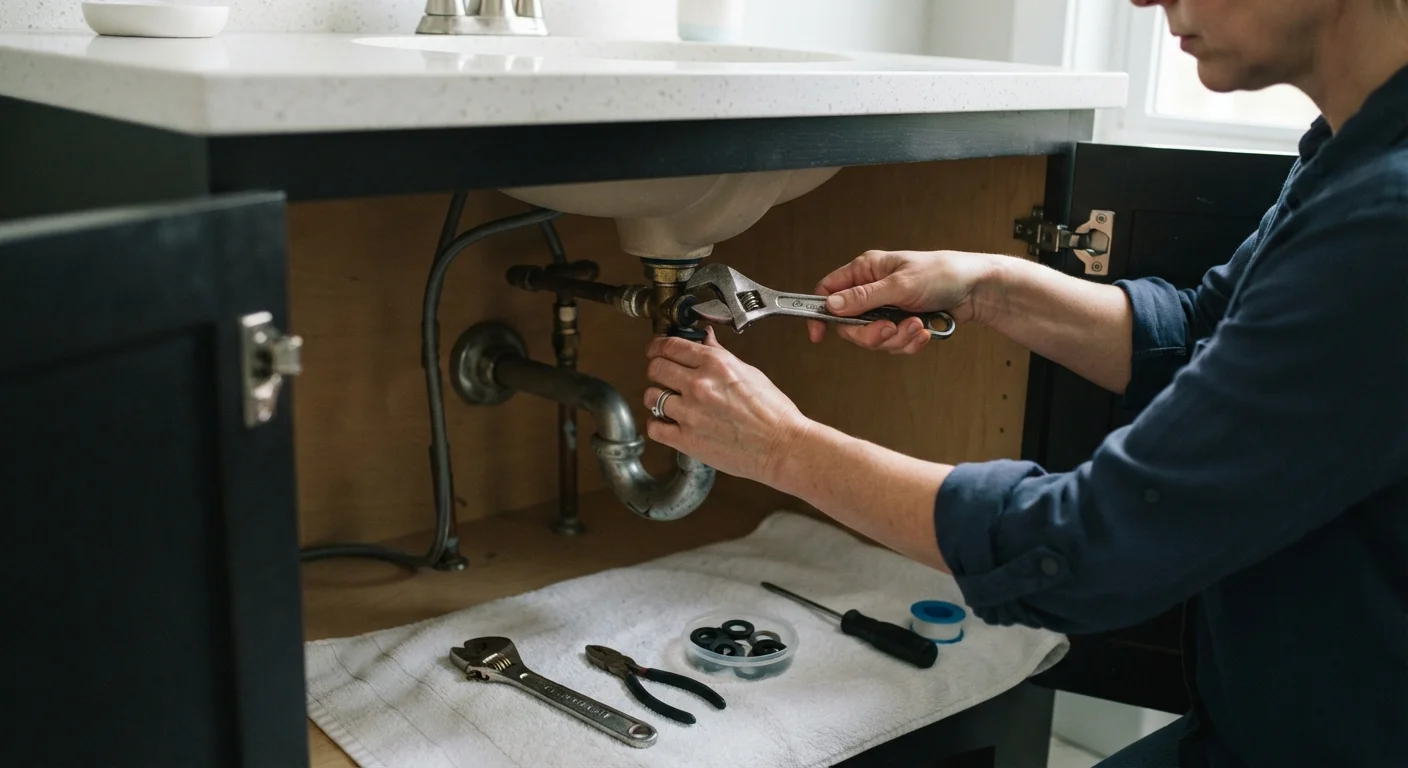
Before touching a single fitting, build a small plumbing toolkit. Having the right tools on hand prevents mid-repair hardware store runs and reduces the risk of improvised — and damaging — workarounds.
Shut-off valve
A small valve, usually located under a sink or behind a toilet, that stops water flow to a single fixture without cutting water to the whole house.
Flapper
A rubber seal at the bottom of a toilet tank that opens to release water during flushing and closes to allow the tank to refill.
Fill valve
The mechanism inside a toilet tank that controls how much water enters after a flush and shuts off automatically when the correct level is reached.
PTFE tape
A thin, flexible tape (also called plumber's tape or Teflon tape) wrapped around threaded pipe joints to create a watertight seal.
Cartridge
A self-contained valve unit inside certain faucets that controls water flow and temperature; it can be removed and replaced as a single component.
Drain snake
A flexible metal cable fed into a drain to break up or retrieve blockages that a plunger cannot reach.
- Adjustable wrench — fits a wide range of nut sizes; safer than pliers on chrome fittings
- Basin wrench — reaches awkward fasteners deep under sinks
- Standard and needle-nose pliers — for gripping small parts inside tank assemblies
- Cup plunger — flat bottom, designed specifically for sink and tub drains
- Flange plunger — flanged bell fits toilet openings for better suction
- Hand drain snake (25 ft) — reaches clogs a plunger cannot dislodge
- Plumber's tape (PTFE tape) — seals threaded pipe connections against slow leaks
- Replacement washers and O-rings assortment — inexpensive and used in almost every faucet repair
Keep a few old towels and a small bucket nearby to catch residual water when disconnecting supply lines.
Fixing a Dripping Faucet
A steady drip from a faucet is almost always caused by a worn internal seal — a washer, O-ring, or cartridge — rather than a faulty faucet body. This is one of the most beginner-friendly repairs in the home.
Photograph Before You Disassemble
Take a clear photo of the faucet handle assembly before removing any parts. Reassembly is much easier when you can reference exactly how washers, springs, and clips were oriented. This simple habit saves time and prevents accidental leaks from incorrectly seated components.
- Turn off the water supply at the shut-off valve beneath the sink. Turn on the faucet to release residual pressure and confirm flow has stopped.
- Remove the handle by unscrewing the decorative cap and the screw underneath it. Set parts in order as you remove them — a photo on your phone is helpful.
- Identify your faucet type. Compression faucets have a rubber washer at the base of the stem; cartridge faucets use a replaceable cartridge; ball faucets have a small rotating ball and spring-loaded seats.
- Replace the worn part. For compression types, unscrew the packing nut, pull out the stem, and swap the washer secured by a brass screw. For cartridge faucets, pull the cartridge straight out and insert the replacement in the same orientation.
- Reassemble and test. Reattach all parts in reverse order, turn the supply valve back on slowly, and check for leaks at the base and spout.
Take the old washer or cartridge to a hardware store to match the size exactly. Most repairs cost only a few dollars in parts.
Stopping a Running Toilet
If your toilet runs continuously or cycles on and off without flushing, the problem is almost always inside the tank. Open the lid and observe: water spilling into the overflow tube points to a fill valve set too high; water running past the flapper points to a worn flapper seat.
Replacing a Worn Flapper
- Shut off the toilet's supply valve (the oval knob on the wall behind the base). Flush to drain the tank.
- Unhook the old flapper from the overflow tube ears and disconnect the lift chain from the flush handle arm.
- Snap the new flapper onto the overflow tube ears and reattach the chain, leaving about half an inch of slack — too tight prevents full closure; too loose prevents a complete flush.
- Turn the supply valve back on, allow the tank to fill, and listen. The running sound should stop within 30 seconds of the tank reaching capacity.
Adjusting the Fill Valve
If water is spilling into the overflow tube, the water level is set too high. Most modern fill valves have a small adjustment screw or a clip on the float arm. Turn the screw counterclockwise (or slide the clip downward) to lower the water level about one inch below the top of the overflow tube.
Tracking down these small repairs is a good habit — and a smart application of the household-expense awareness covered in our home budget planning guide.
Clearing Slow or Clogged Drains
Most slow drains in sinks and tubs are caused by accumulated hair, soap scum, and grease — not damaged pipes. Before reaching for chemical solutions, try mechanical methods first.
Plunger Method
Fill the sink or tub with two to three inches of water to help the plunger form a seal. Block the overflow opening with a wet cloth, then plunge firmly 10 to 15 times with a steady up-and-down rhythm. Run hot water to test drainage.
Baking Soda and Vinegar Flush
Pour half a cup of baking soda down the drain, followed by half a cup of white vinegar. Cover the drain opening immediately to direct the fizzing action downward. Wait 15 minutes, then flush with a full kettle of near-boiling water. This is effective for mild grease buildup and is safe for all pipe types.
Drain Snake
For deeper clogs, feed a hand drain snake into the drain opening while rotating the handle clockwise. When you feel resistance, continue rotating to hook the blockage, then pull back slowly. Rinse the pipe thoroughly afterward.
Avoid Overusing Chemical Drain Cleaners
Caustic chemical drain cleaners can degrade older metal pipes and damage PVC joints with repeated use. They also pose a splash hazard during application. Reserve them for occasional use only, always wear gloves and eye protection, and never mix them with other cleaning products.
Before assuming a slow drain is a minor clog, check multiple fixtures. If two or more drains in different rooms run slowly at the same time, the blockage may be in a shared drain line — a situation that warrants a plumber rather than a DIY attempt.
Knowing When to Call a Licensed Plumber
Plumbing confidence is valuable, but recognising the boundaries of safe DIY work is equally important. Some situations require a licensed plumber — both for safety and because local codes typically mandate it.
- Any work on main supply or drain lines — modifications to pipes inside walls or under slabs
- Low water pressure throughout the home — may indicate a failing pressure regulator, corroded supply line, or municipal supply issue
- Visible pipe corrosion or active leaks behind walls — water damage compounds quickly and drywall conceals its scale
- Water heater installation or repairs — involves both plumbing and electrical or gas connections; requires permits in most jurisdictions
- Sewage odours or backflow — signals a venting or sewer line problem beyond standard DIY scope
It is also worth reading about common misconceptions before starting repairs. Our related article on DIY home repair myths outlines situations where a shortcut often costs more than professional help would have.
When in doubt, consult a licensed plumber. The cost of a professional assessment is almost always less than the cost of repairing secondary water damage caused by an incorrect repair.
This article provides general home improvement information for educational purposes. Plumbing work may be subject to local codes and permit requirements — always verify applicable regulations with your local building authority before undertaking repairs beyond basic fixture maintenance.
Frequently Asked Questions
Locate the shut-off valve under the sink or behind the toilet and turn it clockwise until it stops. If there is no local valve, use your home's main shut-off, typically near the water meter. Always test that water flow has stopped before loosening any fittings.
Yes — a continuously running toilet can waste hundreds of gallons per day depending on severity. Beyond the environmental impact, this shows up noticeably on your water bill. Identifying and fixing the faulty flapper or fill valve promptly is worthwhile.
Frequent use of harsh chemical drain cleaners can corrode older metal pipes over time. For routine clogs, mechanical options like a plunger or drain snake are generally safer for your pipes. Reserve chemical products for occasional use and follow label safety instructions carefully.
Common household faucets include ball, cartridge, ceramic disc, and compression types. The repair method and replacement parts differ by type. Identifying your faucet type — usually visible once the handle is removed — is the most important first step before sourcing parts.
In most US jurisdictions, replacing fixtures like faucets and toilet flappers does not require a permit. However, work that alters supply lines, drains within walls, or involves new fixture installations typically does. Check with your local building department to confirm what applies in your area.
Immediately shut off the main water supply to stop flooding, then turn off electricity in affected areas if water is near outlets or panels. Call a licensed plumber right away — burst pipes are not a DIY repair situation and can cause significant structural damage quickly.
The content on this site is for informational purposes only and is not a substitute for professional advice. Always consult a qualified professional for guidance specific to your situation.