

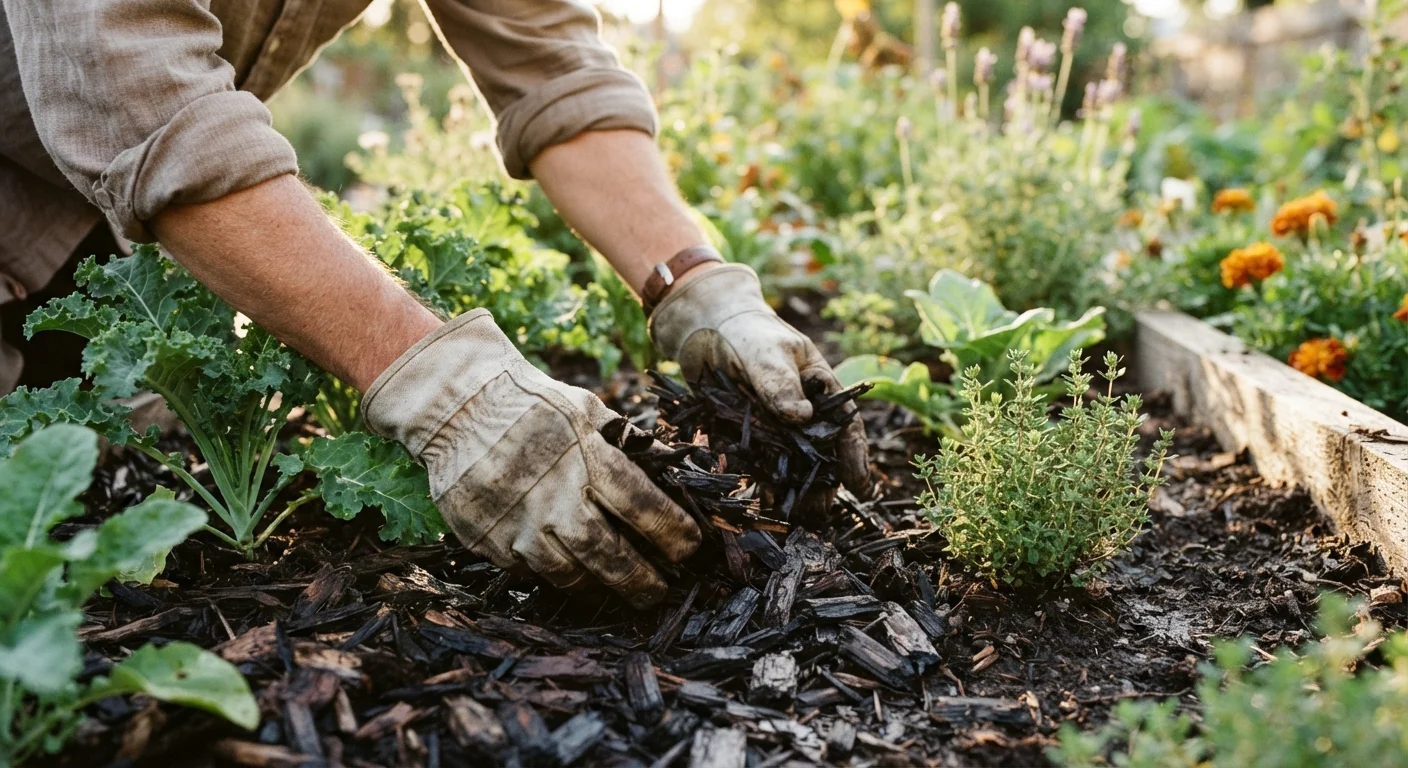
Why Mulching Matters More Than You Think
A layer of mulch does far more than make garden beds look tidy. It acts as an insulating blanket for soil — moderating temperature swings, reducing evaporation, and creating a physical barrier that slows weed germination. Done well, mulching can meaningfully reduce how often you water and how much time you spend pulling weeds each season.
The catch is that mulching done poorly can work against your garden. Piling material too thick blocks air and water movement. Pressing mulch against plant stems traps moisture and invites fungal disease. Choosing the wrong material for your soil type or climate can introduce weed seeds or alter soil chemistry in unhelpful ways.
If you're starting a vegetable garden, building good mulching habits early will pay dividends all season long.
Apply organic mulch at a depth of 2–3 inches in most garden beds.
Too little mulch fails to suppress weeds or retain moisture effectively. Too much can suffocate soil microbes, prevent water penetration, and create anaerobic conditions that harm plant roots.
Keep mulch at least 2–3 inches away from plant stems and tree trunks.
Mulch pressed against stems holds moisture against tissue that needs to stay dry, encouraging rot, fungal disease, and pest harborage. This single habit prevents some of the most common mulching-related plant losses.
Match mulch type to the specific needs of each planting area.
Different materials have different decomposition rates, pH effects, and textures that suit different plants. Using a one-size-fits-all approach often means suboptimal results for at least some areas of the garden.
Replenish organic mulch each season as it decomposes.
Organic mulch breaks down into the soil — which is beneficial for soil health but means coverage thins over time. Failing to top it up allows weeds to re-establish and exposes soil to erosion and moisture loss.
Wet the soil before applying mulch, especially during dry periods.
Mulch applied over dry soil locks in the dryness and makes it harder for subsequent watering or rainfall to penetrate effectively. Starting with moist soil gives roots a better foundation beneath the new layer.
Choosing the Right Mulch Material
Mulch falls into two broad categories: organic and inorganic. Organic mulches — shredded leaves, straw, wood chips, pine bark, and grass clippings — decompose over time and gradually enrich soil. Inorganic options like gravel, river rock, or landscape fabric don't break down but require little maintenance and work well in areas where you don't want organic matter.
For most home garden beds and around trees and shrubs, organic mulch is the practical choice. Wood chips excel around trees and perennial shrubs. Straw works well in vegetable beds because it's light, breaks down quickly, and is easy to turn into the soil at season's end. Shredded leaves are a free, nutrient-rich option that earthworms particularly appreciate.
Pairing good mulch practice with smart watering habits makes a real difference — see our guide on garden watering myths to avoid undoing your mulch's moisture-retention benefits.
Spot-Check for Matting Before Reapplying
Some fine materials like grass clippings and straw can mat together into a dense layer that repels water rather than absorbing it. Before adding fresh mulch each season, rake or fluff the existing layer to check for compaction. If the old material has matted into a solid sheet, break it up or remove it before topping up.
Avoid dyed or treated wood mulch in vegetable and edible garden areas unless the product is clearly labeled safe for food gardens, as some colorants and preservatives may not be appropriate near edible crops.
Depth, Timing, and Application Tips
The standard guidance for most garden beds is 2–3 inches of mulch. Around trees, 3–4 inches is appropriate, but the mulch should taper down to nothing within a few inches of the trunk — never mound it up against the bark. This "volcano mulching" style is extremely common and consistently damages trees over time by trapping moisture against the cambium layer.
For vegetable beds, 1–2 inches is often enough, particularly for fine materials like straw or grass clippings that mat easily. With bulkier wood chip mulch, 3 inches provides solid coverage without smothering. If you're working with raised beds, bear in mind that raised beds can dry out faster, making consistent mulch coverage especially valuable.
Timing matters too. Apply mulch in late spring after soil has warmed up — mulching cold, wet soil too early can delay the season. A second application in fall helps insulate perennial roots through winter. Replenish organic mulch annually as it decomposes, which is also a good time to check depth and rake away any compacted or matted areas.
Finished compost pairs beautifully with a mulch layer — work a thin layer of compost into the soil first, then mulch on top. The composting at home guide walks through how to produce and use your own.
The content on this site is for informational purposes only and is not a substitute for professional advice. Always consult a qualified professional for guidance specific to your situation.