

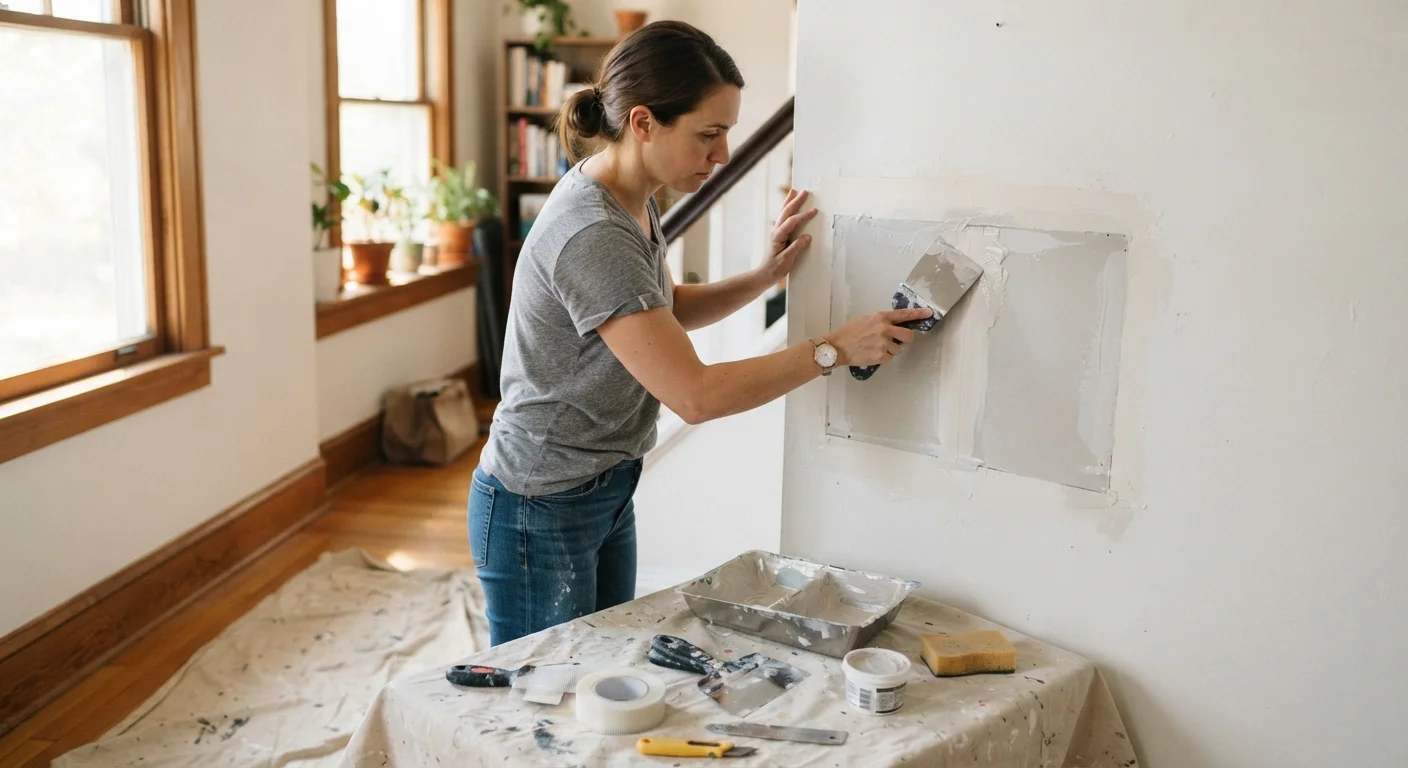
Summary
22 items · 2–6 hours across one weekend
Why a Checklist Makes Wall Repair Easier
Interior wall repairs seem straightforward until you find yourself at the hardware store mid-project, unsure whether you grabbed the right mesh tape or enough sandpaper. A structured checklist prevents those interruptions by ensuring you assess the damage, gather every supply, and work through each stage in the correct order.
This checklist suits the most common weekend scenarios: nail holes, hairline cracks, small to medium drywall punctures, and popped corner bead. If you have large structural openings, water-damaged sections affecting multiple studs, or damage near electrical boxes, those repairs may warrant a licensed contractor. For a broader look at sizing up a first repair job, see our complete guide to first-time home repair projects.
Work through each group in order. Check items off as you go — skipping steps, especially drying time between coats, is the most common reason a repair remains visible after painting.
Putty knife (3-inch and 6-inch)
Applies and smooths spackling or joint compound into holes and over mesh patches.
Drywall knife (10- or 12-inch)
Feathers joint compound over larger patches to blend edges into the surrounding wall.
Sanding sponge or sandpaper (120- and 220-grit)
Smooths dried compound between coats and before priming.
Self-adhesive fiberglass mesh patches
Bridges medium-sized holes to give joint compound a stable surface to adhere to.
All-purpose joint compound
Primary fill material for medium to large repairs; feathers and sands easily when dry.
Lightweight spackling compound
Fast-drying filler for nail holes, small dents, and hairline cracks.
Drywall primer (PVA)
Seals patched areas so topcoat paint absorbs evenly and avoids dull hot spots.
Drop cloth and painter's tape
Protects flooring and adjacent trim from compound drips and paint overspray.
The Checklist: All 22 Steps
The checklist below is organized into four logical stages. Complete each group before moving to the next. Estimated times assume a single person working at a steady pace.
Assessment and Preparation
Tools and Materials Gathered
Patching and Compound Application
Priming, Painting, and Final Check
Never Patch Over Moisture or Mold
Patching a wall that has active moisture behind it traps the problem and accelerates deterioration. If the damaged area feels soft, shows discoloration, or smells musty, stop and identify the water source before any repair work. Mold remediation in wall cavities is a task that often requires a professional assessment — do not sand or disturb suspected mold without proper respiratory protection and an understanding of remediation protocols.
Once the wall is smooth and primed, you are ready to address the rest of the room. Our room-by-room décor refresh checklist is a natural next step after repairs are complete.
Getting the Patch Technique Right
Choosing the correct patching method for the damage size is what separates a lasting repair from one that cracks or sags within months.
- Nail holes and small dents (under ½ inch): Lightweight spackling compound applied with a putty knife, sanded flush when dry. One coat is usually sufficient.
- Medium holes (½ inch to 4 inches): Self-adhesive fiberglass mesh patch backed with two to three coats of all-purpose joint compound, feathered wide and sanded between coats.
- Larger sections (4 inches and above): A California patch or a wood-backed drywall insert provides the rigidity needed. For detailed technique guidance, see drywall patching from small holes to large sections.
Allow Full Dry Time Between Every Coat
Joint compound that is painted over before it is fully dry will shrink as moisture escapes, causing cracks and a sunken appearance days later. Drying time varies by coat thickness, humidity, and room temperature — do not rely solely on color change (white means dry). When in doubt, wait longer or use a fan to increase airflow. Rushing this step is the number-one cause of repairs that need to be redone.
Feathering — blending compound edges outward 6 to 10 inches beyond the patch boundary — is the key skill that makes repairs invisible. Use a 10- or 12-inch drywall knife for the final coat rather than a narrow putty knife.
Priming, Painting, and Final Inspection
Skipping primer over a fresh patch is one of the most reliable ways to end up with a visible "hot spot" — a dull, flat circle that stands out even under matching paint. A drywall primer or PVA primer seals the compound so the topcoat absorbs evenly.
When selecting paint for touch-ups, note both the color code and the sheen level (flat, eggshell, satin, or semi-gloss). A color-matched paint in the wrong sheen will still be visible in raking light. If the original paint is several years old, a full wall repaint often looks more uniform than a spot touch-up.
Do a final inspection by holding a work light at a low angle against the wall surface. Raking light reveals any remaining ridges, low spots, or unfeathered edges before the job is done. Mark any imperfections with a pencil and apply a thin skim coat, allow it to dry fully, and sand lightly before re-priming.
If any part of your repair required working on a ladder or step stool, review safe practices for working at height to make sure your setup met basic fall-prevention standards.
The content on this site is for informational purposes only and is not a substitute for professional advice. Always consult a qualified professional for guidance specific to your situation.