

Choosing the Right Repair Method for Your Hole Size
Not all drywall damage is created equal, and the repair method that works beautifully for a nail pop will fail on a fist-sized hole. Matching your approach to the damage size is the most important decision you make before picking up a tool.
- Nail holes and small dings (under ¼ inch): A single application of lightweight spackling compound or joint compound, pressed in with a fingertip or small putty knife, is all you need. No tape, no backer — just fill, dry, and sand.
- Medium holes (¼ inch to 4 inches): Self-adhesive mesh patch kits or the "California patch" method work well here. Both add surface reinforcement without requiring you to cut the wall open.
- Large holes (over 4 inches): These require a cut-out and replacement approach using a piece of new drywall, backing boards for support, and several coats of taped compound.
Before you begin any repair, check the surrounding drywall for softness, water staining, or mold — signs that moisture damage may extend beyond the visible hole. Repairing over active moisture problems will produce results that fail quickly. If you're planning a full weekend of wall repairs, the Weekend Wall Repair Checklist can help you organize tasks and materials efficiently.
What you will need
Step-by-Step Patching Instructions
Follow these steps in order. The process scales across hole sizes — steps that apply only to large holes are noted clearly.
Inspect for Hidden Hazards First
Before cutting into any wall, check for electrical wiring, plumbing, or gas lines running behind the drywall. Use a stud finder with AC detection capability or an electronic wire detector. If you have any doubt about what is behind the wall, consult a licensed electrician or plumber before proceeding. Cutting into live wiring or a water line is a serious safety hazard.
Prepare the damaged area
Remove any loose paper facing, crumbled gypsum, or protruding fasteners around the hole. For nail pops, drive the nail or screw slightly below the surface with a hammer or screwdriver so it dimples the face without breaking through. Brush away dust and debris so compound can bond cleanly to the surface.
Apply the patch backing (large holes only)
Use a drywall saw to cut the damaged area into a clean rectangle or square. Cut two strips of 1x4 pine or ¾-inch plywood slightly longer than the hole's height and insert them behind the opening, centered behind each vertical edge. Secure them to the existing drywall with 1¼-inch drywall screws driven through the face of the wall. These backing strips give the new drywall piece something firm to attach to.
Cut a replacement piece of drywall to fit the opening snugly, then screw it to the backing boards. The patch face should sit flush with — not proud of — the surrounding wall.
Apply mesh tape or paper tape over seams
For medium holes using a mesh patch kit, simply press the self-adhesive panel over the opening and smooth the edges. For large cutout repairs, apply paper tape or self-adhesive mesh tape over each seam between the new drywall and the existing wall. Press tape firmly so no air bubbles remain underneath.
Paper tape is generally preferred over mesh for flat seams because it is less prone to cracking over time, though it requires embedding in a wet layer of compound first.
Apply the first coat of joint compound
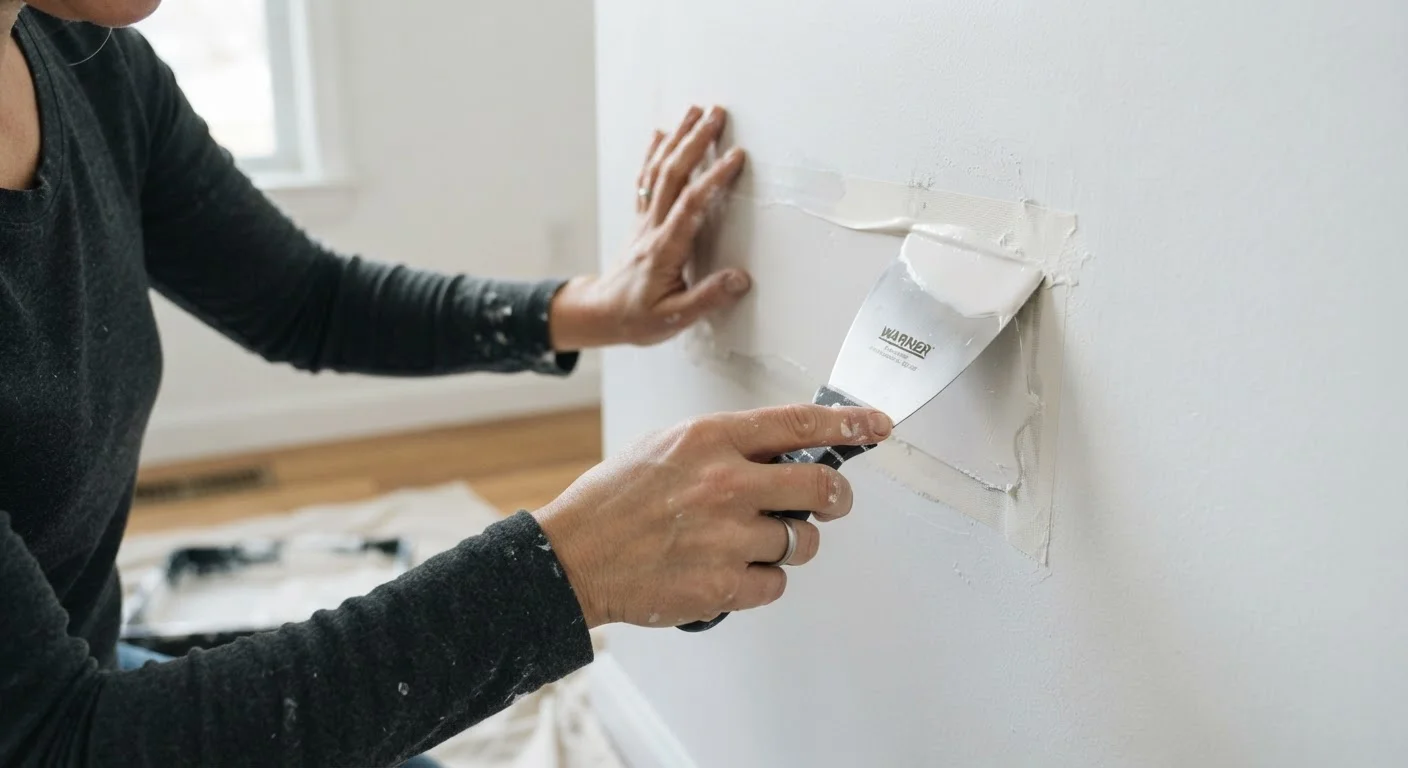
Load a 6-inch drywall knife with all-purpose joint compound and spread an even layer over the taped seams and the patch surface. For small fills, press compound firmly into the void, overfilling it slightly. Hold the knife at a low angle and draw it across the surface in long, smooth strokes to minimize ridges. Do not try to make it perfect at this stage — the first coat is about adhesion and filling, not finish.
Let dry completely, then sand and apply second coat
Allow the first coat to dry fully — the compound will shift from gray or translucent to uniformly white. Lightly sand the dried surface with a 120-grit sanding sponge to remove ridges and tool lines, then wipe away dust. Apply a second coat of compound, widening the application area slightly beyond the first coat and feathering the edges. This coat should be thinner than the first.
Final skim coat, sand smooth, and prime
Once the second coat is fully dry, assess the surface under raking light (hold a work light nearly parallel to the wall). Apply a thin third coat if any depressions or ridges remain. When satisfied, sand the entire area smooth with a fine sanding sponge, feathering into the surrounding wall. Wipe clean, then apply a coat of drywall primer before painting. Priming seals the porous compound and ensures your paint color matches the rest of the wall.
Don't Rush the Drying Time
Joint compound that is not fully dry will shrink as it cures, causing cracks and an uneven surface. The compound should appear uniformly white — not darker or translucent in patches — before you sand or add another coat. Depending on humidity and coat thickness, this can take anywhere from four hours to overnight. Using a fan or dehumidifier can help speed drying in humid conditions.
Prime Before You Paint
Freshly patched drywall is porous and will absorb paint differently than the surrounding wall, creating a visible 'hot spot' or sheen difference even under multiple coats of color. Apply a coat of drywall primer or PVA primer to the patched area before finish painting. This step is easy to skip but makes a real difference in the final result. See interior painting prep steps that help ensure a uniform, lasting finish.
Getting a Clean, Paintable Finish
The quality of a drywall repair is judged under paint and raking light — not when you're looking at wet compound. Two habits separate smooth, invisible patches from obvious repairs:
Feather your edges
With each coat of compound, extend the application a few inches wider than the previous coat, tapering the edges to near-zero thickness. This gradual fade eliminates the ridge that shows up under paint. A wider knife (8–10 inches) helps on the outer coats.
Sand lightly between coats
Use a fine sanding sponge — not coarse sandpaper — to knock down ridges and tool marks between coats. Avoid over-sanding into the tape layer. Wipe away dust with a damp cloth before applying the next coat.
Most patches need two to three coats of compound total. The final coat should be a very thin skim. Once dry and sanded to a smooth surface, you're ready to prime. For first-time DIYers tackling a broader set of fixes, Home Repair from the Ground Up offers a solid foundation for approaching projects with confidence.
Putty knife or drywall knife (4–6 inch)
Applies and smooths joint compound over patches of all sizes.
Utility knife
Scores and cuts drywall cleanly for medium and large patch repairs.
Drywall saw (jab saw)
Cuts out damaged sections for backing board or panel replacement repairs.
Sanding sponge or 120-grit sandpaper
Smooths dried joint compound between coats and before priming.
Joint compound (all-purpose or lightweight)
The primary material used to fill, skim, and surface drywall patches.
Drywall mesh tape or paper tape
Reinforces patch seams to prevent cracking over time.
Drywall screws and backing board (1x4 pine or plywood strip)
Provides structural support behind large cutout patches.
Stud finder with AC detection
Locates studs and identifies hidden wiring before cutting into walls.
The content on this site is for informational purposes only and is not a substitute for professional advice. Always consult a qualified professional for guidance specific to your situation.