

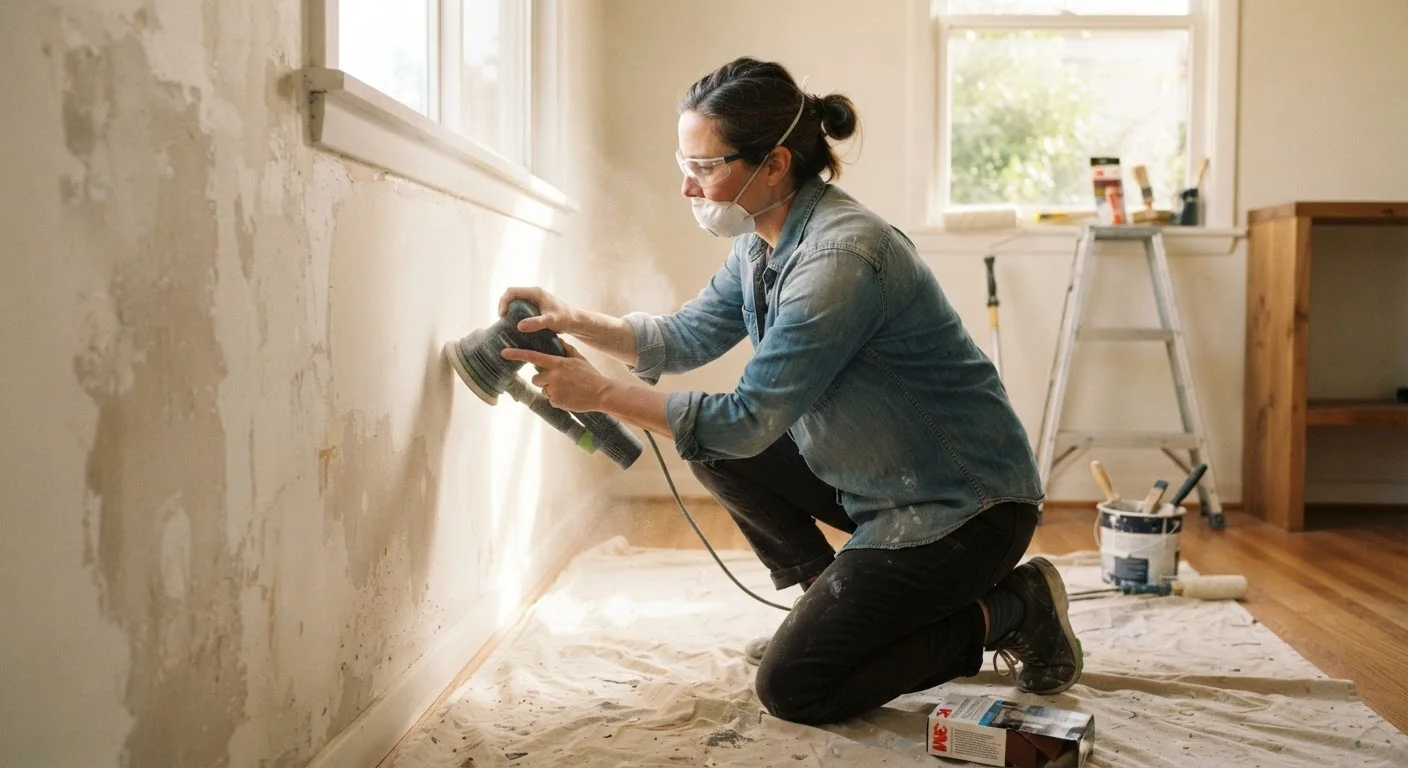
Why Prep Work Determines the Final Result
Most homeowners focus on color selection and brush technique, but the truth is that 80% of a paint job's quality is determined before a single drop of paint is applied. Rushing through — or skipping — preparation steps leads to bubbling, peeling, streaking, and uneven coverage that no amount of extra coats can fully fix.
Whether you're freshening up a living room or painting a kitchen, the same fundamentals apply. Understanding what goes wrong, and why, helps you build the habit of doing prep properly every time. Before diving into the mistakes, it's worth reviewing the overall condition of your walls — our Weekend Wall Repair Checklist is a practical starting point.
Painting over dirty or greasy walls without cleaning first.
Why it happens: Walls look visually clean, so homeowners assume they're paint-ready. Invisible grease, dust, and residue are easy to overlook.
Skipping primer, especially on patched areas or new drywall.
Why it happens: Primer feels like an extra, unnecessary step when paint-and-primer products are widely available. Many homeowners assume those products eliminate the need for a dedicated primer coat.
Failing to repair cracks, nail holes, and surface imperfections before painting.
Why it happens: Small holes seem trivial, and homeowners expect a thick coat of paint to fill them in. Paint actually highlights imperfections rather than hiding them.
Rushing the sanding step or skipping it between coats.
Why it happens: Sanding feels tedious and creates dust, so it's often cut short. Homeowners also don't realize that light sanding between coats significantly improves adhesion and smoothness.
Using inadequate tape or poor taping technique along trim and edges.
Why it happens: Taping feels slow, and some homeowners believe they can cut in freehand quickly. Poorly pressed tape bleeds paint underneath, creating messy lines that require tedious cleanup.
Not allowing enough drying time between coats.
Why it happens: Impatience is the main culprit. A second coat applied too soon traps moisture, leading to bubbling, tackiness, and uneven sheen.
The Prep Mistakes That Undermine Even Good Paint
Even experienced DIYers fall into these traps. Recognizing them ahead of time is the single most effective way to protect your time, effort, and materials.
~80%
Of paint failures traced to poor surface preparation
Industry painting professionals consistently cite inadequate prep — not paint quality — as the leading cause of premature paint failure on interior surfaces.
2–4 hrs
Minimum recoat time for most latex interior paints
Most latex paint manufacturers specify a recoat window of two to four hours under standard temperature and humidity conditions — longer in cooler or humid rooms.
Once your walls are properly prepped and painted, you can confidently move on to finishing touches — like planning a gallery wall display that ties the whole room together. And if you're working inside a rental, check out our guide on decorating without losing your deposit before reaching for the roller.
Older Homes May Have Lead-Based Paint
If your home was built before 1978, painted surfaces may contain lead. Sanding or scraping lead paint without proper precautions creates hazardous dust. Contact a certified lead abatement professional or consult EPA guidelines before disturbing old painted surfaces. Do not rely on general DIY advice for this situation.
Good preparation also feeds into broader home refresh goals. Use the Room-by-Room Décor Refresh Checklist to spot other areas that may need attention alongside your paint project.
The content on this site is for informational purposes only and is not a substitute for professional advice. Always consult a qualified professional for guidance specific to your situation.