

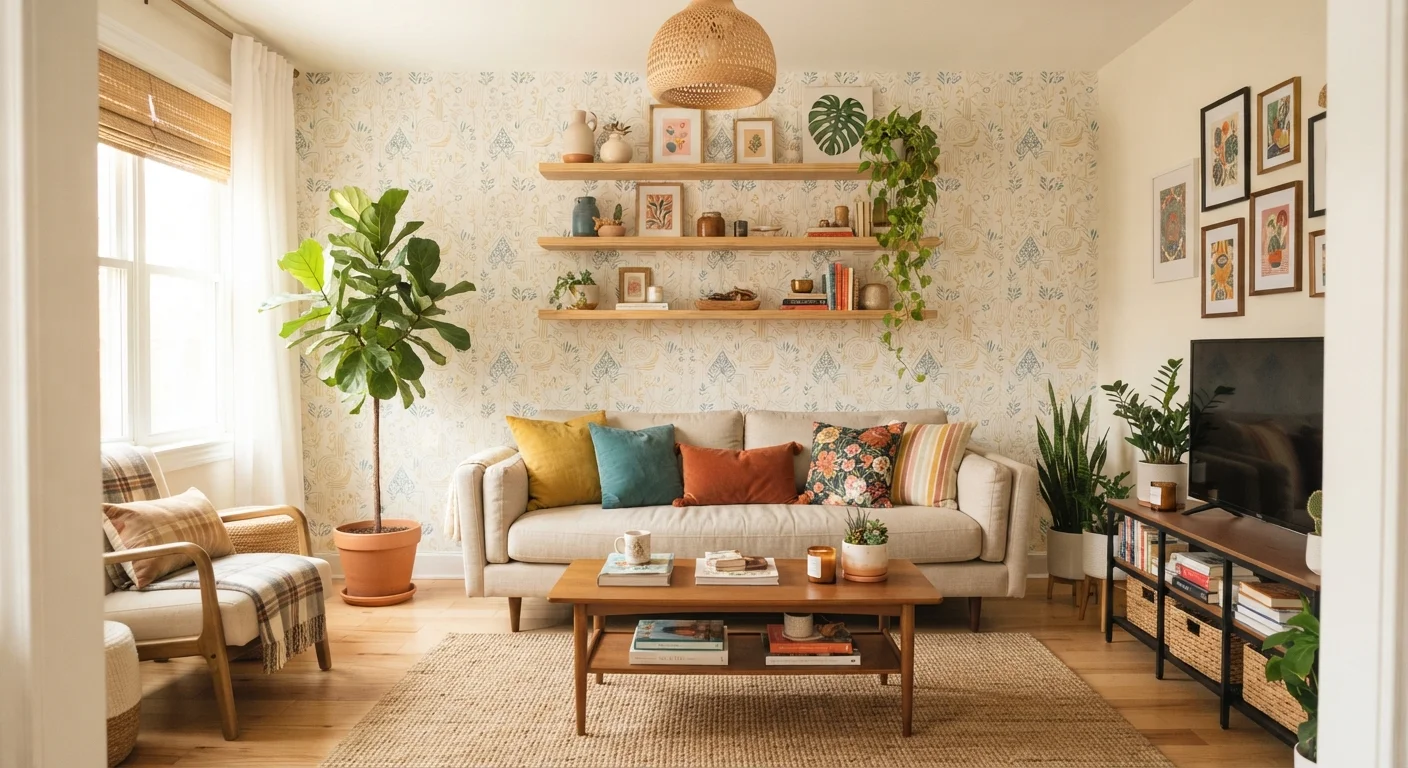
Why Renters Can Decorate Confidently
The assumption that renting means living with bare walls and default beige is outdated. A growing range of damage-free products — from peel-and-stick surfaces to tension-mounted hardware — means renters can personalise a home with real visual impact and still walk away with their deposit intact. The key is working with reversible solutions and understanding what your lease actually permits.
If you're working through a broader decorating project, the room-by-room décor refresh checklist is a useful starting point for identifying what to prioritise before you spend anything. And if you're weighing different decorating approaches, understanding minimalist vs. maximalist decorating can help you settle on a direction that suits your lifestyle.
Read Your Lease Before You Start
Every rental agreement is different. Some leases explicitly prohibit wall anchors, painting, or even removable wallpaper. Before purchasing any materials, review your lease and, if unsure, ask your landlord in writing. Getting permission documented protects both you and your security deposit.
What You'll Need
Deposit-safe decorating doesn't require specialist skills or a large budget. The tools and materials below cover the most effective techniques. Check each one against your lease and property before purchasing.
What you will need
Removable adhesive strips and hooks
Hang frames, mirrors, and lightweight shelves without drilling or leaving permanent marks.
Peel-and-stick removable wallpaper
Create an accent wall or add pattern to a space without permanent adhesive or paint.
Area rugs
Define zones, add warmth, and cover uninspiring flooring without any fixings.
Freestanding shelving unit
Provide display and storage space without wall anchors or damage.
Tension rods
Hang curtains, room dividers, or under-sink storage without drilling curtain rod brackets.
Smartphone or camera
Document the property's pre-existing condition with dated photographs before decorating.
Document Everything on Move-In Day
Before hanging a single thing, photograph every wall, floor, and surface in good lighting. Store these images somewhere date-stamped and accessible — cloud storage works well. This visual record is your strongest protection if any pre-existing damage is later disputed at move-out.
Step-by-Step: Decorating Without Damage
Follow these steps in order to build up a personalised space while keeping every change reversible. If a particular step isn't relevant to your rental — for example, if your lease prohibits wall adhesives entirely — skip it and focus on the furniture and textile steps, which carry zero risk.
Photograph and assess the space
Walk through every room and photograph all walls, floors, ceilings, and fixtures in good light before touching anything. Note any pre-existing scuffs, holes, or stains on your move-in checklist. This baseline record is essential for recovering your deposit when you leave.
Start with textiles — they do the heavy lifting
Rugs, throw pillows, curtains, and blankets can shift a room's entire mood without touching a single wall. Lay a large area rug to anchor a seating area, swap out basic cushions for ones in your preferred palette, and hang curtains using tension rods or removable hooks to frame windows with fabric. Our guide on layering textiles for personality and warmth goes deeper on this approach.
Use removable adhesive products for walls
Adhesive strips and hooks rated for the appropriate weight let you create a gallery wall, hang a mirror, or mount a floating shelf without a single drill hole. For a bolder statement, peel-and-stick removable wallpaper can cover one wall in pattern or texture and peels cleanly when you move on — provided you follow removal instructions precisely and test on a hidden spot first.
Bring in freestanding furniture and shelving
Freestanding bookcases, ladder shelves, and storage units add personality and function with no fixings required. Style open shelves with a mix of books, small plants, and objects at varying heights to create visual interest — a technique sometimes called a vignette. (Unfamiliar with decorating terms? Our home décor glossary defines the vocabulary you'll encounter most.)
Layer in lighting and plants
Overhead rental lighting is often harsh or flat. Plug-in floor lamps and table lamps add warmth without any electrical work. Cord clips or adhesive cable channels keep wires tidy. Houseplants introduce colour, texture, and life — and go wherever you go when the lease ends. Group plants at different heights using plant stands to create a layered, considered look.
Reverse everything carefully at move-out
Removal is just as important as installation. Follow manufacturer guidance for peeling adhesive strips slowly at a low angle rather than pulling straight out. Patch any minor marks with a matching touch-up product if your lease permits. Clean surfaces thoroughly and re-photograph every wall before handing back the keys, mirroring the angles from your move-in photos.
Not All 'Removable' Products Are Equal
Adhesive strength varies widely by product and wall surface. Always test any adhesive strip, hook, or peel-and-stick material on a small, hidden area first. Some products can lift paint on older or freshly painted walls even when removed carefully. Follow manufacturer instructions for weight limits and removal technique.
For context on what permanent decorating alternatives look like — and why they're off the table in most rentals — our article on interior painting preparation illustrates how involved a proper paint job really is.
The content on this site is for informational purposes only and is not a substitute for professional advice. Always consult a qualified professional for guidance specific to your situation.