

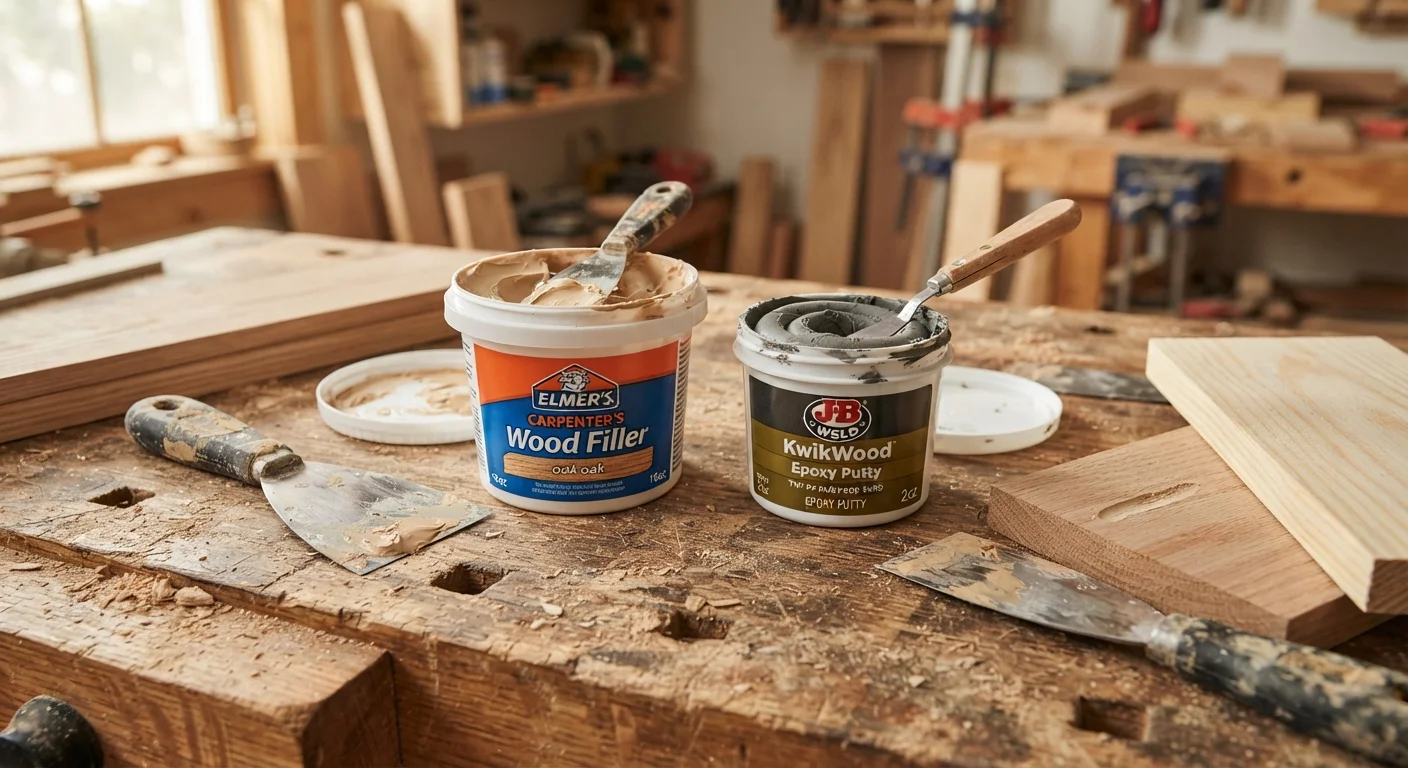
Option A
Wood Filler
The paintable, everyday surface repair compound.
Best for: Filling small dents, nail holes, and surface gouges in dry interior wood that will be painted or stained.
Option B
Epoxy Filler
The structural, waterproof solution for damaged or rotted wood.
Best for: Rebuilding soft, rotted, or structurally compromised wood on exterior trim, sills, and load-bearing surfaces.
What Each Filler Is Made Of
Understanding what's inside each product explains why they behave so differently on the job.
Wood filler — sometimes called wood putty — is typically a water-based or solvent-based compound made from wood byproducts (such as sawdust or cellulose fiber) suspended in a binder. It's designed to be spread easily, dry relatively fast, and sand smooth. Because it contains a meaningful percentage of water or solvent, it shrinks slightly as it cures. This is acceptable for thin applications but becomes a problem in deep fills, where shrinkage can leave a sunken or cracked patch.
Epoxy filler is a two-part system: a resin and a hardener that are mixed together immediately before use. Once combined, a chemical reaction begins that cures the material into a dense, rigid solid. There's no solvent evaporating, so there's negligible shrinkage. The resulting material is essentially plastic — hard, waterproof, and unaffected by rot fungi or insects.
| Criterion | Wood Filler | Epoxy Filler |
|---|---|---|
| Composition | Wood fiber in water/solvent binder | Two-part resin and hardener |
| Shrinkage on cure | Moderate shrinkage | Negligible shrinkage |
| Waterproof | No (limited resistance) | Yes, fully waterproof |
| Structural strength | Cosmetic only | High — can accept fasteners |
| Sandability | Easy — fine grit sufficient | Harder — coarser grit needed |
| Accepts stain | Yes (stainable formulas) | No |
| Accepts paint | Yes | Yes (prime first) |
| Best location | Interior or sheltered surfaces | Exterior, high-moisture, structural |
| Application ease | Simple — single component | Requires mixing; limited open time |
Strength, Flexibility, and Moisture Resistance
These three properties largely determine which filler belongs on which project.
Strength
Epoxy filler cures to a compressive strength that can rival or exceed the surrounding wood. You can drill into it, drive screws through it, and shape it with chisels or rasps once it reaches a leather-hard stage. Wood filler, by contrast, is softer after curing — adequate for cosmetic surface work, but not intended to bear mechanical load or accept fasteners.
Flexibility
Wood naturally expands and contracts with seasonal humidity changes. Wood filler has some tolerance for this movement in thin layers, but it can crack in thicker applications or in exterior conditions. Epoxy filler is rigid and does not flex, which means it can debond at the edges over time if the surrounding wood moves significantly. For joints or surfaces with high movement, neither product is a permanent solution without addressing the underlying cause.
Moisture Resistance
This is where the gap is widest. Epoxy filler is fully waterproof once cured and will not absorb water or support rot. Wood filler — even products labeled "exterior" — offers limited moisture resistance and should not be used as a primary defense against water intrusion. If rot is present, it must be removed or consolidated with a liquid epoxy consolidant before any filler is applied. Just as choosing the wrong material matters in tile work — see our guide on grout vs. caulk for a parallel example — matching filler to conditions prevents repeat repairs.
~¼ inch
Maximum recommended single-layer depth for wood filler
Most wood filler manufacturers recommend building up thin layers rather than filling deep voids in a single pass to minimize cracking.
2-part
Components required to activate epoxy filler
Epoxy fillers require mixing resin and hardener in precise ratios — typically 1:1 by volume — to achieve a full, durable cure.
Paintability, Sandability, and Finish Quality
Both fillers can be painted, but the prep process and finish quality differ in practical ways.
Wood filler sands easily with standard sandpaper once dry — typically within 15 minutes to 2 hours depending on depth and product. It feathers well into surrounding wood, making it excellent for achieving an invisible patch under paint. Stainable formulas are available, but results vary; a filled area will rarely absorb stain at exactly the same rate as raw wood, so some color variation is expected.
Epoxy filler requires more effort to sand because of its hardness — coarser grits are often needed first. However, it holds a crisp edge and accepts primer and paint without raising or swelling. It does not stain in any meaningful way, since it has no wood grain to absorb pigment. If stain is part of the finish plan, epoxy is not a good match.
For either filler, prime before painting. Skipping primer — especially over epoxy — can cause adhesion issues and uneven sheen. Surface preparation principles overlap with other patch repairs; the drywall patching guide covers priming and feathering techniques that translate well to wood repairs too.
A Note on 'Wood Putty' vs. 'Wood Filler'
These terms are sometimes used interchangeably at retail, but there is a distinction worth knowing. Traditional wood putty is oil-based, stays slightly flexible after drying, and is best applied after finishing since it doesn't sand as cleanly. Wood filler (typically water-based) is designed to be applied before finishing, sanded flush, and then painted or stained. Check the product label for drying time, sandability, and whether it should go on before or after the topcoat.
Choosing the Right Product for Your Repair
A simple decision framework prevents most mismatches:
- Interior, cosmetic, painted surface: Wood filler is faster, easier to sand, and more than adequate.
- Exterior surface, no rot present: Use a quality exterior-rated wood filler for minor gaps; use epoxy filler for anything deeper than about ¼ inch or exposed to standing water.
- Rot present: Remove as much decayed material as possible. Apply liquid epoxy consolidant to stabilize remaining soft fibers, then rebuild the void with epoxy filler.
- Structural area or fastener location: Always use epoxy filler — it's the only option that can support mechanical load reliably.
- Stained finish required: Use a stainable wood filler and test on scrap first; accept that an exact match is unlikely.
Working within these guidelines keeps repairs durable and reduces the chance of having to redo work within a season or two.
The content on this site is for informational purposes only and is not a substitute for professional advice. Always consult a qualified professional for guidance specific to your situation.