

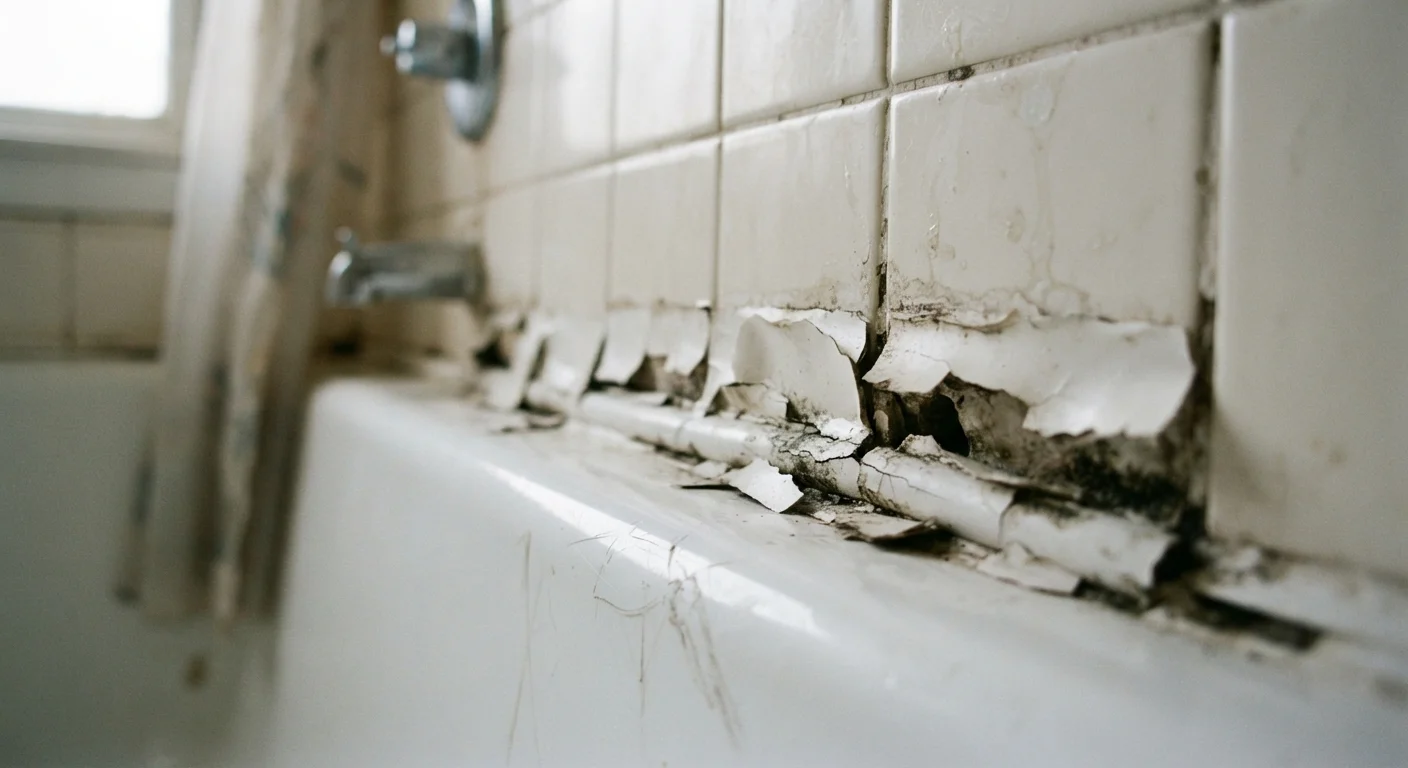
Why Caulk Fails in the First Place
Caulk is designed to flex with the natural movement of a home — the subtle shifts caused by temperature changes, humidity, and settling. When it cracks, pulls away, or crumbles within months of application, the cause almost always traces back to how it was prepared or applied, not to the product itself.
Understanding the most common mistakes homeowners make gives you a clear path to a repair that actually lasts. Whether you're re-sealing a bathtub, a window frame, or interior trim, the principles are the same. Before you pick up a caulk gun, take a few minutes to understand what goes wrong — and why.
Don't Ignore Persistent Moisture Behind Caulk
If caulk in your bathroom or around windows is failing repeatedly and rapidly, the problem may not be application technique — it could signal water intrusion, substrate damage, or mold behind the wall. If you notice soft drywall, discoloration, or persistent musty odors, consider consulting a licensed contractor before re-caulking. Sealing over an active moisture problem can trap water and worsen structural damage.
Common Mistakes That Cause Caulk to Crack
The mistakes below account for the vast majority of caulk failures in residential settings. Review each one before starting your next project.
Applying new caulk directly over old, deteriorated caulk.
Why it happens: Removing old caulk is tedious, and it's tempting to simply layer fresh caulk on top to save time.
Caulking over a damp or contaminated surface.
Why it happens: Homeowners often caulk right after cleaning with water or a cleaner, not allowing enough drying time.
Using an interior latex caulk in high-moisture or high-movement areas.
Why it happens: General-purpose latex caulk is inexpensive and easy to apply, so many homeowners use it everywhere without checking its rated application.
Applying too thick a bead in a single pass.
Why it happens: A thicker bead looks like it fills gaps more completely, but caulk cures from the outside inward.
Skipping tooling and smoothing of the fresh bead.
Why it happens: Some homeowners believe that caulk is ready once it exits the tube, and skip the finishing step.
Not allowing adequate cure time before exposing the joint to water or stress.
Why it happens: Cure time is often confused with dry-to-touch time, which can be as short as 30 minutes.
Surface Prep Determines Everything
No caulk product — regardless of how it's marketed — can compensate for poor surface preparation. A surface that is damp, oily, or still coated with old caulk will cause any new application to fail, often within weeks. Budget more time for prep than for the application itself, and your repair will be significantly more durable.
How to Apply Caulk That Stays Put
Once you've identified the mistakes to avoid, the repair process becomes much more straightforward. Start by removing all existing caulk using a plastic scraper or a dedicated caulk removal tool — never apply new caulk over old. Clean the surface thoroughly with isopropyl alcohol or a mild bathroom cleaner, then let it dry completely for at least 24 hours in humid areas like tubs or showers.
Choose your caulk type deliberately. For wet zones and areas with significant movement, a 100% silicone or siliconized latex formula generally performs better than standard paintable latex. See our guide to silicone vs. latex caulk for a breakdown of which formulation fits your specific repair. For tiled surfaces, also consider whether caulk or grout is the right material — our grout vs. caulk comparison covers the key differences.
When applying, cut the tube tip at a shallow angle and keep the bead consistent — roughly the width of the gap you're filling. Pull the gun steadily rather than pushing, smooth the bead with a dampened finger or a caulk tool, and resist the urge to use the area until the caulk has fully cured according to the manufacturer's instructions. In high-humidity areas, this often means waiting 24–48 hours.
5–10 years
Expected lifespan of properly applied caulk
According to general guidance from home improvement professionals, quality caulk applied correctly in low-movement areas can last a decade before needing replacement.
24–48 hrs
Minimum cure time for bathroom caulk
Most silicone and siliconized latex caulk manufacturers specify a full cure period of one to two days before water exposure in shower and tub applications.
The content on this site is for informational purposes only and is not a substitute for professional advice. Always consult a qualified professional for guidance specific to your situation.