

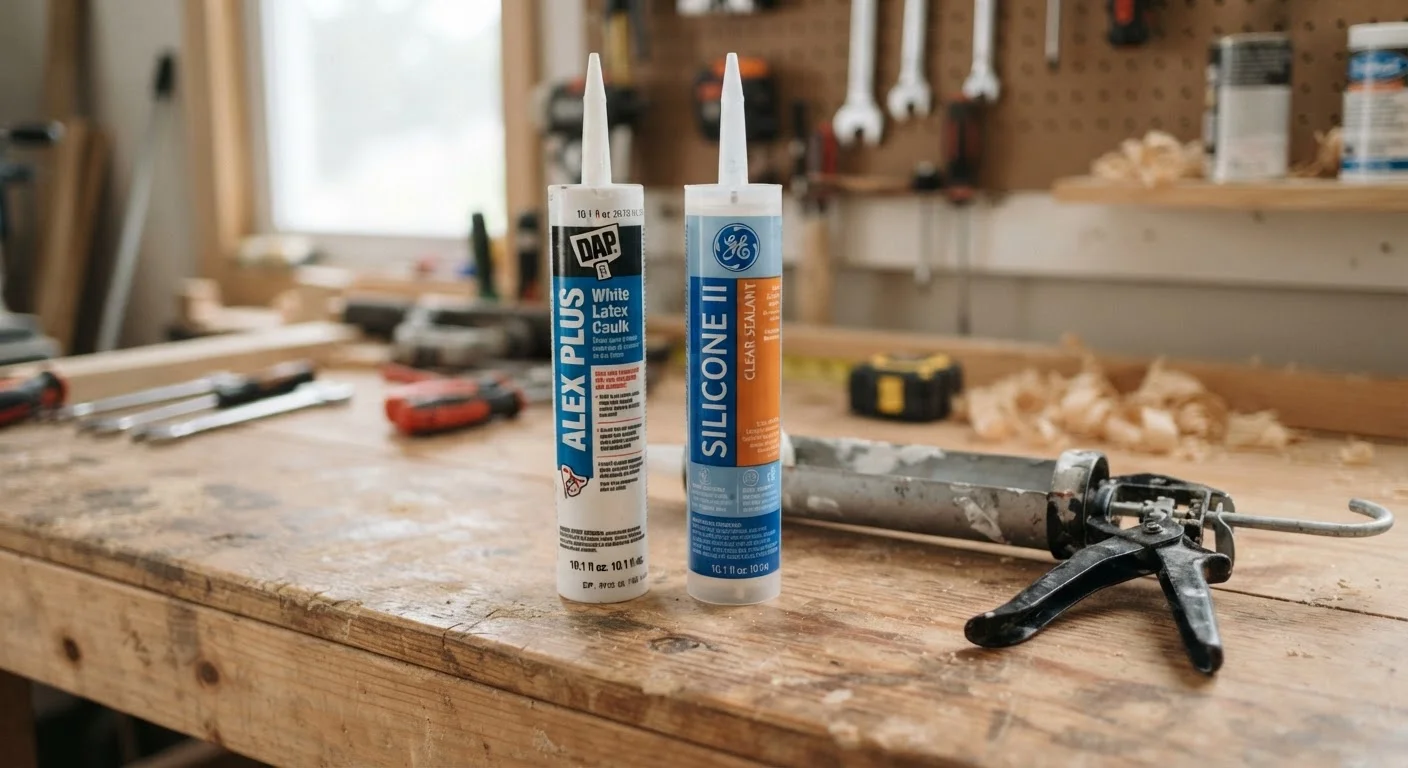
Our Verdict
Silicone caulk is the stronger performer in wet, high-heat, and high-movement environments, offering superior longevity and waterproofing. Latex caulk wins where paintability, easy cleanup, and minimal odor are priorities, particularly for interior trim and drywall gaps. For most homeowners, having one tube of each on hand covers nearly every repair scenario.
| Best for | Recommended |
|---|---|
| Wet areas like tubs, showers, and sinks | Silicone caulk |
| Interior trim, baseboards, and painted surfaces | Latex caulk |
| Exterior window and door frames exposed to weather | Silicone caulk |
| Quick repairs where low odor and easy cleanup matter | Latex caulk |
What Sets These Two Formulations Apart
Caulk is a flexible sealant used to close gaps between surfaces, but not all caulk is made the same. The two most common types — silicone and latex (also called acrylic latex or painter's caulk) — are chemically very different, and those differences drive real performance gaps in everyday home repairs.
Silicone caulk is a rubber-based polymer. Once cured, it forms a highly elastic, waterproof seal that bonds to non-porous surfaces such as glass, ceramic tile, and metal. It resists temperatures ranging from well below freezing to above 400°F, and it does not shrink or crack over time the way organic materials can.
Latex caulk is water-based and acrylic in composition. It is far easier to work with — it applies smoothly, smooths with a damp finger, and cleans up with plain water before it cures. Latex caulk is also formulated to accept paint once dry, which makes it the standard choice for gaps along baseboards, window casings, and interior trim lines.
Understanding these chemical distinctions helps you match the right product to each surface and use case before you ever pick up a caulk gun.
Performance Compared Across Key Criteria
The table below summarizes how each type performs across the factors that matter most for home repair decisions.
| Silicone Caulk | Latex Caulk | |
|---|---|---|
| Waterproofing | Fully waterproof | Water-resistant only |
| Paintability | Cannot be painted | Accepts paint when dry |
| Flexibility over time | Remains highly flexible | May shrink or crack |
| Temperature resistance | Excellent (extreme ranges) | Moderate (indoor use) |
| Cleanup | Requires solvent | Water cleanup before cure |
| Odor during application | Strong acetic acid smell | Low odor |
| Typical longevity | 20+ years in wet areas | 5–10 years interior use |
| Best surface types | Glass, tile, metal, exterior | Drywall, wood trim, plaster |
One point worth emphasizing: silicone does not accept paint. Applying latex paint over a cured silicone bead will cause the paint to peel away, usually within a season. If a joint will be painted, latex caulk is the only practical choice. Conversely, applying latex caulk in a shower or around a kitchen sink almost always leads to mold growth and seal failure because latex is not truly waterproof — it is only water-resistant.
Where Each Type Belongs in Your Home
Use silicone caulk for:
- The joint between a bathtub or shower base and surrounding tile or wall surface
- Around kitchen sinks where the countertop meets the sink rim
- Exterior window and door frames, where thermal expansion and weather exposure are ongoing
- Glass-to-glass or glass-to-metal joints, such as frameless shower enclosures
Use latex caulk for:
- Gaps between baseboards, crown molding, and walls
- Interior window and door casings that will be painted
- Small cracks in drywall or plaster before repainting
- Areas where low odor is important, such as occupied bedrooms or poorly ventilated rooms
Try a Hybrid Siliconized Latex
If you need a product that is paintable but more moisture-tolerant than standard latex, look for siliconized acrylic latex caulk. This hybrid formulation blends acrylic latex with silicone additives, offering improved flexibility and water resistance while still accepting paint. It works well in areas like kitchen backsplashes and bathroom vanities that are damp but not directly wet.
For tile work, the choice between caulk and grout is a separate but related decision. Our guide to grout vs. caulk explains which filler to use in tile joints, corners, and transitions — a useful companion to this article.
Application Tips and Common Mistakes
Regardless of which type you choose, surface preparation determines whether the seal holds. Both silicone and latex caulk require a surface that is clean, dry, and free of old sealant. Residual silicone in particular is notoriously difficult to bond over — it must be removed mechanically with a caulk remover tool and cleaned with isopropyl alcohol before re-application.
Never Apply New Caulk Over Old
Caulking over an existing bead is one of the most common DIY mistakes. The new layer bonds to the old caulk rather than the substrate, and when the old material fails — which it will — the new bead fails with it. Always fully remove old caulk with a plastic scraper or caulk removal tool, then clean the surface thoroughly before starting fresh.
When applying either type, cut the tube nozzle at a 45-degree angle to match the width of the joint, apply steady consistent pressure on the caulk gun, and fill the gap in one continuous motion where possible. After applying, smooth the bead immediately — silicone with a dry finger or a dedicated smoothing tool dipped in soapy water; latex with a damp finger or damp cloth.
Allow full cure time before exposing the joint to moisture. Latex caulk typically skins over in 30 minutes but takes up to 24 hours to fully cure. Silicone can take 24–48 hours to cure completely, depending on humidity and bead thickness. Check the product label for the manufacturer's stated cure time.
The content on this site is for informational purposes only and is not a substitute for professional advice. Always consult a qualified professional for guidance specific to your situation.