

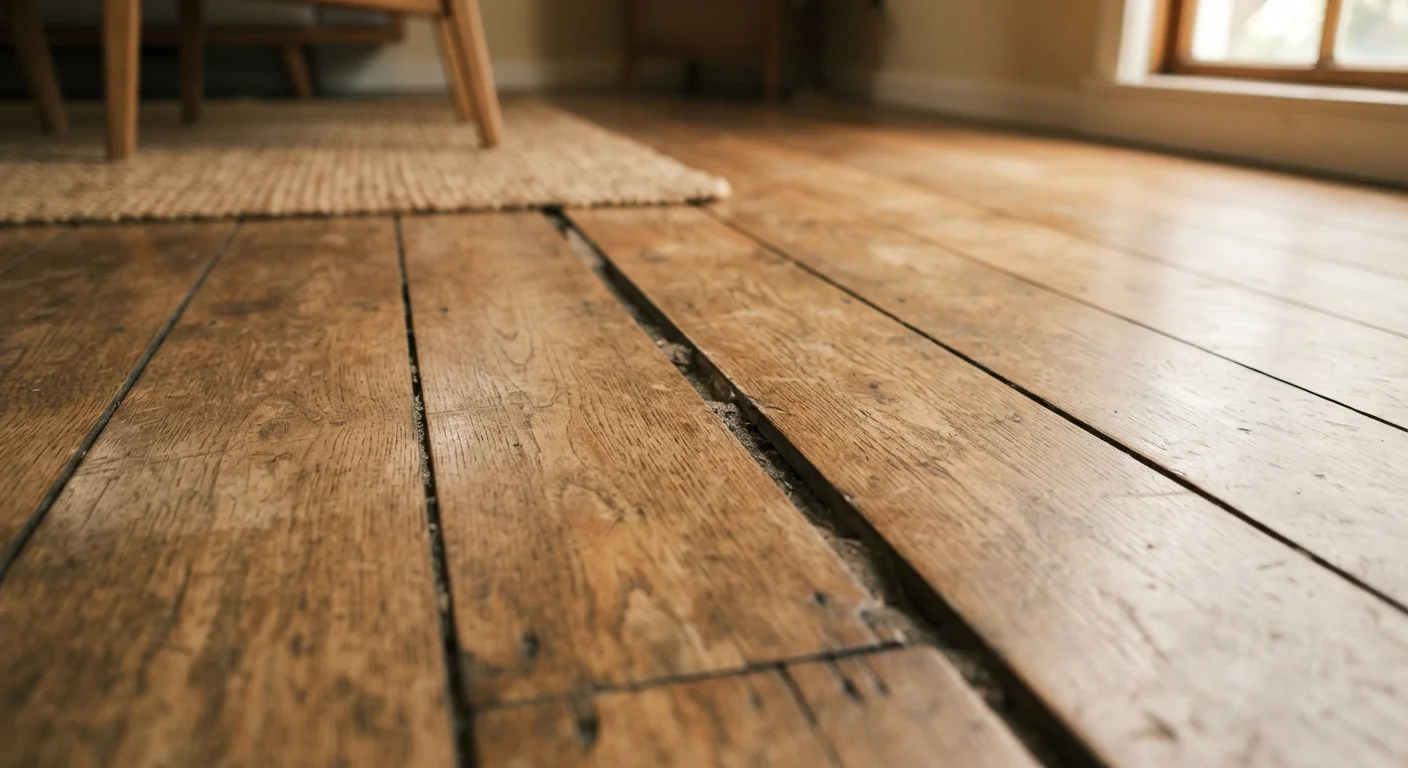
Why Floors Squeak: The Basic Mechanics
A floor squeak is simply the sound of wood or metal moving against another surface under pressure. When you step down, your weight compresses the floor stack — finish boards, subfloor panels, and joists — and if any of those layers can shift even a fraction of an inch, friction produces noise. Understanding which layer is moving tells you exactly where to focus your repair.
There are three primary squeak sources:
- Finish floor friction: Individual boards rub against each other at their edges or tongues and grooves.
- Subfloor-to-joist separation: The structural panel has lifted slightly away from the joist below it, flexing when stepped on.
- Nail or fastener movement: A nail shank rubs inside an oversized hole as the board moves up and down.
Correctly identifying the source saves you from fixing the wrong layer entirely.
Engineered vs. Solid Hardwood Repair Differences
Engineered hardwood flooring — made of a thin veneer over a plywood core — behaves differently than solid hardwood. It's generally less susceptible to seasonal movement but offers less material for sanding or counter-sinking screws. Always check the manufacturer's specifications for your floor type before attempting any mechanical repair, as some engineered products have a wear layer too thin to accommodate fasteners safely.
How to Locate the Source of the Squeak
Start by mapping the noise precisely. Walk slowly across the suspect area while a helper watches from a basement or crawl space below — they can often spot the exact board or joist connection that flexes. Mark the spot with painter's tape before doing anything else.
If access from below isn't possible, tap the floor surface in a grid pattern around the squeak. A hollow, drum-like sound indicates the subfloor has separated from its joist. A more solid thud suggests the subfloor is still well-seated, and the issue may be at the finish floor level.
Look also for visual clues: boards that appear slightly raised, cupped, or with visible gaps at their seams are strong candidates for the noise source. Note whether the squeak appears only in one season — if it disappears in humid summer months and returns in dry winter, seasonal wood movement is almost certainly involved.
30–50%
Humidity swing that triggers wood movement
Wood flooring associations generally note that indoor relative humidity swings of 30–50% across seasons are the primary driver of expansion and contraction in wood floors.
¾"
Typical solid hardwood floor thickness
Standard solid hardwood planks are ¾" thick — a dimension that determines how deep fasteners can safely penetrate without breaching the surface.
Fixes You Can Apply From Above
When basement access isn't available, several above-floor methods are effective:
Lubricate the Joint
For squeaks at board seams, work powdered graphite, talcum powder, or a dry powdered lubricant into the joint with a stiff brush, then work it deeper by walking back and forth over the spot. This reduces friction without any fasteners or floor damage. It's a good first step on hardwood or engineered floors.
Drive Trim Screws Through the Finish Floor
For a more permanent fix, drive a short wood screw (typically 1¼" to 1½") through the finish floor at an angle into the subfloor. Counter-sink the head slightly, then fill the hole with a wood filler matched to your floor color. Avoid this method on thin engineered flooring where screw depth is limited.
Pre-drill to Prevent Splitting
Before driving any screw through a hardwood finish floor, drill a pilot hole slightly narrower than the screw shank. Hardwood splits more easily than softwood, and a pilot hole prevents surface cracking that would make the repair more visible. Use a countersink bit to create a clean recess for the screw head.
Use a Specialty Squeak Kit
Hardware stores carry squeak-repair kits that use a snap-off screw designed to break below the surface, leaving a nearly invisible fix point. These are particularly useful for carpet-covered squeaks — the screw pulls the subfloor tight without removing carpet.
Fixes From Below (When You Have Access)
Access from below through a basement or crawl space gives you the most reliable repair options.
Glue or Shim a Gap
If the subfloor panel has a visible gap above a joist, apply a thin bead of construction adhesive along the joist top and press the subfloor down firmly. For a small gap you can't close by hand, tap a thin wood shim coated in adhesive into the gap — just until it's snug. Do not force it; over-driving a shim can actually push the floor up and create a new problem on the surface above.
Add a Blocking or Sister Joist
Where a joist itself has twisted or where two joists meet with a gap, a short piece of lumber — called blocking — can be nailed between them to stabilize the assembly. This is moderately skilled carpentry; if you're uncertain, a framing contractor can do this quickly and at relatively low cost.
Just as you'd investigate the root cause of an unusual noise in another part of your home — the way brake noises signal specific mechanical issues — a floor squeak is telling you something specific about where friction or separation has developed.
When to Call a Professional
Most squeaks are nuisances, not emergencies. But certain patterns call for a professional evaluation before any DIY repair:
- The floor feels springy or bouncy underfoot across a wide area, suggesting joist weakness or rot.
- Squeaking is accompanied by visible floor slope, sagging, or cracks in the ceiling below.
- You discover moisture damage, mold, or pest activity when examining the subfloor from below.
- The home is older and you're unsure of the structural system beneath the floor.
A licensed contractor or structural engineer can assess whether the source is cosmetic friction or something requiring a permitted repair. Attempting to sister joists, repair rotted framing, or modify load-bearing structures without proper knowledge and permits can be unsafe and may create code compliance issues. Always verify local permit requirements with your municipality before undertaking any structural work.
Frequently Asked Questions
In most cases, no. Squeaks are typically caused by wood friction from normal seasonal movement or loose fasteners. However, if squeaking is widespread, worsening rapidly, or accompanied by visible floor sagging or bouncing, consult a licensed contractor to rule out joist or structural issues.
Often, yes. Powdered graphite or talcum powder worked into board joints can reduce surface friction without any demolition. From below, a helper can hold the subfloor tight against a joist while you drive a screw — no flooring removal needed.
Wood loses moisture in dry winter air and contracts slightly, creating small gaps between boards or between the subfloor and joists. These gaps allow movement when weight is applied, producing squeaks. Running a humidifier during heating season can reduce this seasonal effect.
Walk slowly over the area while someone listens from below in the basement or crawl space. Mark the squeaking location with tape on the floor above, then examine that point from underneath for subfloor gaps, loose fasteners, or joists that have separated from the subfloor.
Basic squeak repairs — lubricating joints, tightening screws, or shimming small gaps — are well within the range of most homeowners. Widespread subfloor damage, bouncy floors, or suspected joist problems should be evaluated by a licensed contractor before any repairs are attempted.
The content on this site is for informational purposes only and is not a substitute for professional advice. Always consult a qualified professional for guidance specific to your situation.